Transform Your Home into a Personal Spa
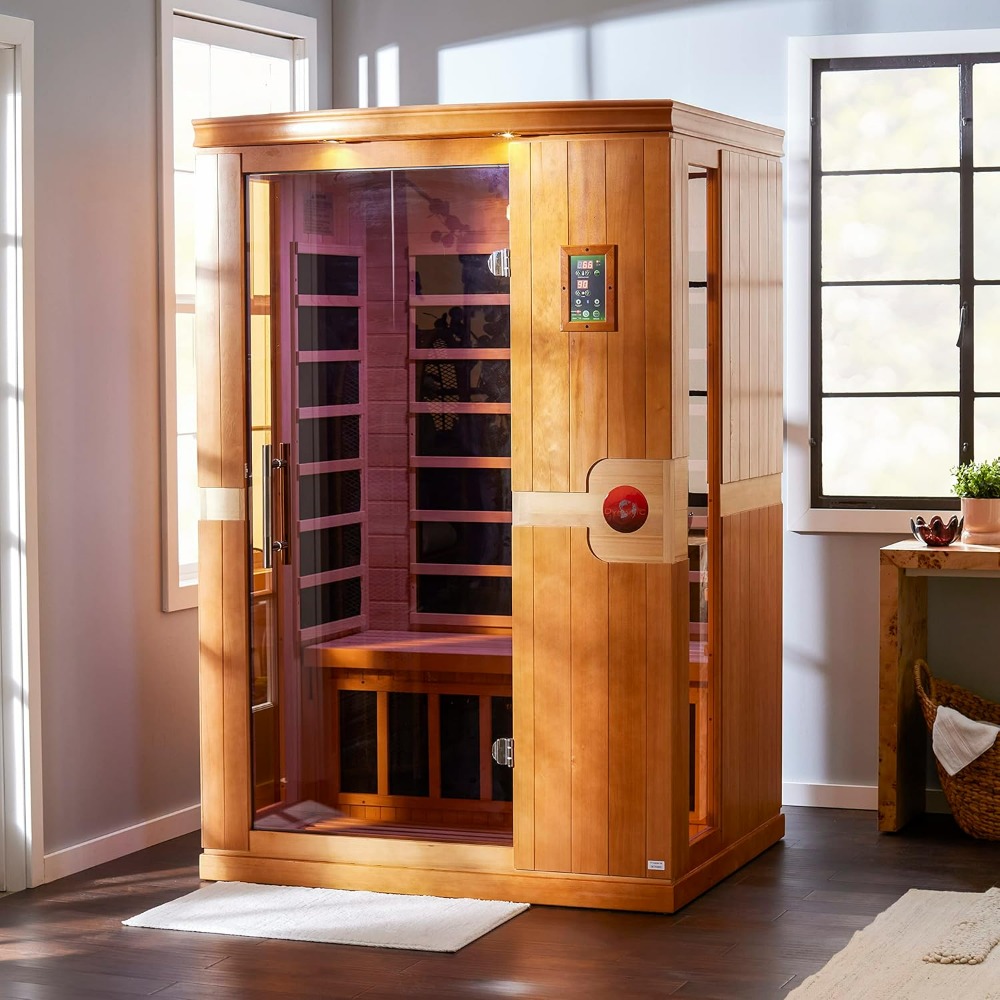
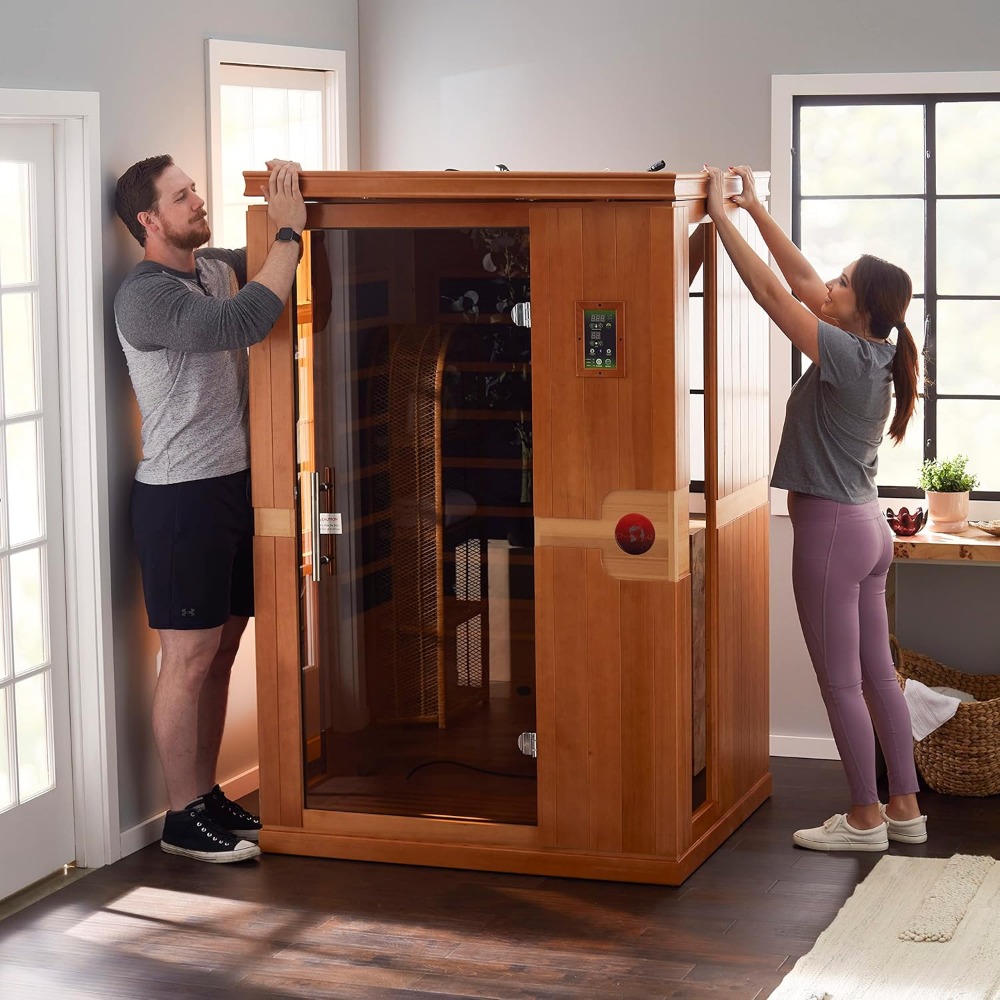
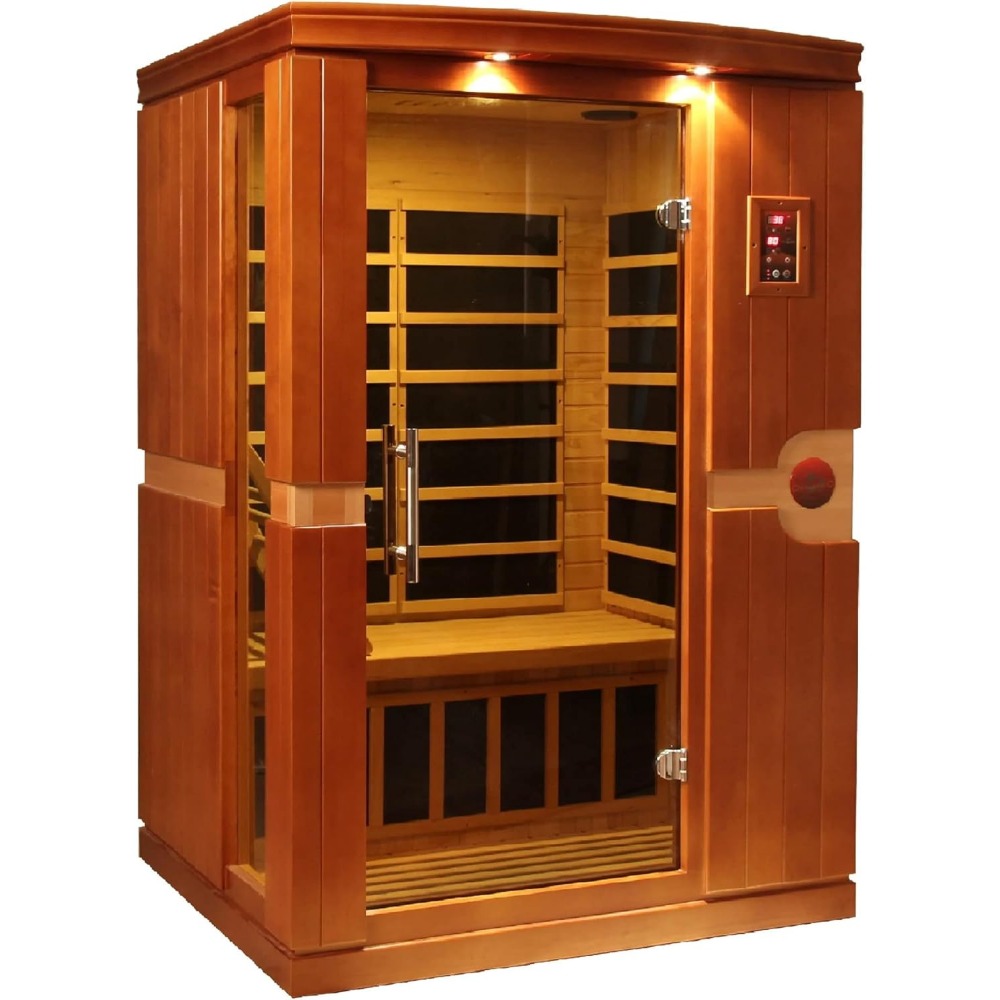
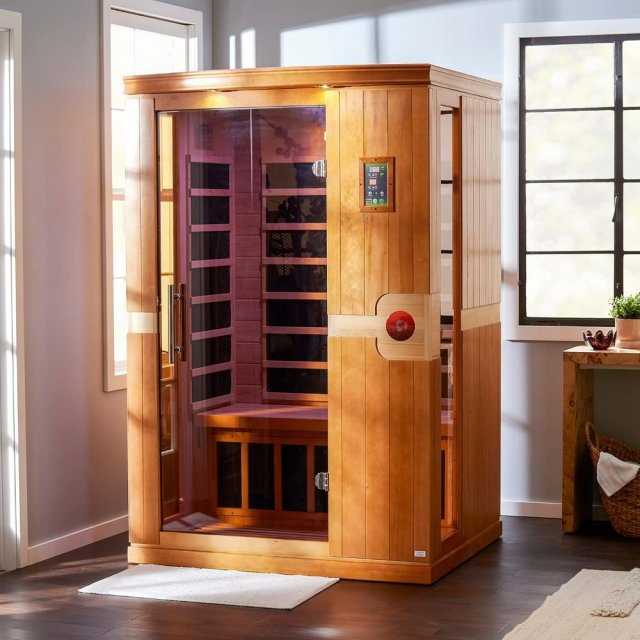
Indulge in the luxury of a spa day from the comfort of your own home with the 2-Person Low EMF Infrared Sauna. Crafted to combine relaxation and therapeutic benefits, this sauna offers an unparalleled experience that’s both soothing and stylish. Designed with reforested Canadian Hemlock wood, it brings warmth and elegance to any space, making it an ideal addition to your home wellness routine.
Features that Elevate Relaxation
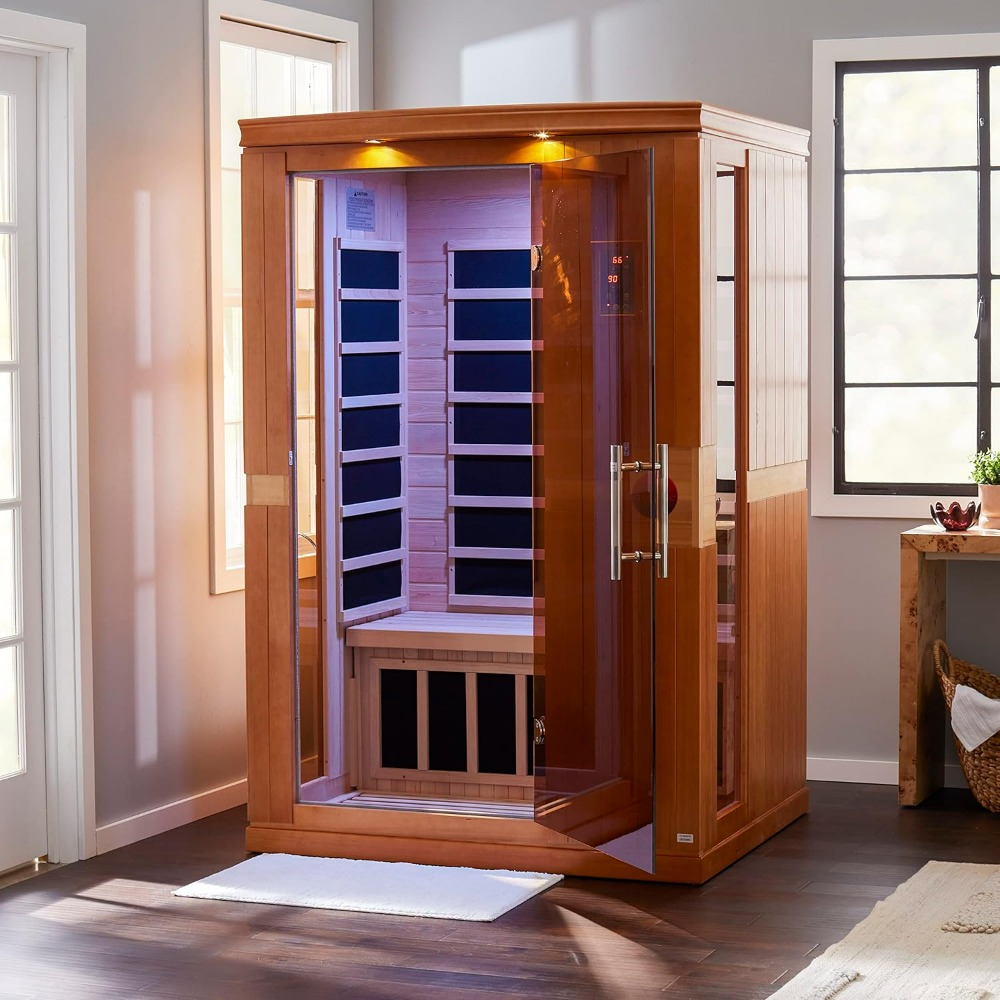
Experience an even, calming heat with 6 low EMF FAR Infrared Carbon heating panels. The advanced heating technology ensures a wider, softer, and evenly distributed warmth, perfect for unwinding after a long day. The natural wood finish, tempered glass door, and side windows not only enhance the sauna’s aesthetic appeal but also create a cozy, inviting ambiance.
The soft-touch control panel with an LED display ensures easy operation, while the built-in MP3 aux connection and speakers allow you to customize your relaxation with your favorite music or calming sounds.
Benefits of This Infrared Sauna
- Therapeutic Heat: The infrared heating panels promote better circulation, muscle relaxation, and detoxification.
- Low EMF Design: Prioritizing safety and comfort, the low EMF technology minimizes electromagnetic exposure.
- Two-Person Capacity: Perfect for shared spa moments or solo relaxation sessions.
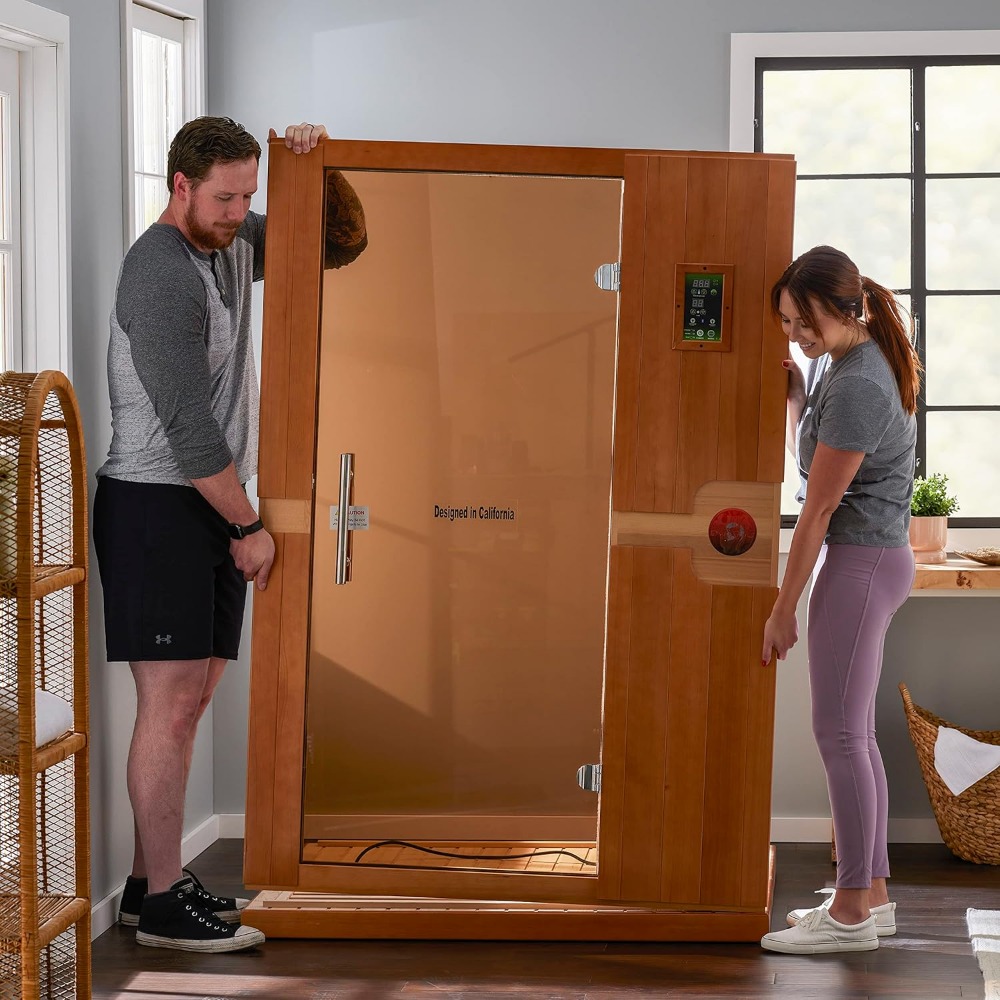
- Compact and Elegant: Natural wood construction and sleek glass details fit beautifully in your home.
- Customizable Atmosphere: Integrated MP3 aux connection lets you set the mood with music.
When and Why to Use This Sauna
Whether you’re looking to unwind after a workout, ease stress after a busy day, or enjoy a romantic spa night with your partner, this sauna is the ultimate solution. Its gentle infrared heat is perfect for year-round use, offering health and relaxation benefits regardless of the season.
Bring Wellness and Style to Your Home
Don’t wait to enhance your daily routine with the soothing, rejuvenating power of the 2-Person Low EMF Infrared Sauna. Elevate your wellness journey and create lasting moments of relaxation in the comfort of your own space.
Make your home your sanctuary—order yours today!
SHIPPING
We are proud to offer international shipping services that currently operate in over 200 countries and islands world wide. Nothing means more to us than bringing our customers great value and service. We will continue to grow to meet the needs of all our customers, delivering a service beyond all expectation anywhere in the world.
Do you ship worldwide?
Yes. We provide free shipping to over 200 countries around the world. However, there are some locations we are unable to ship to. If you happen to be located in one of those countries we will contact you.
What about customs?
We are not responsible for any custom fees once the items have been shipped. By purchasing our products, you consent that one or more packages may be shipped to you and may get custom fees when they arrive to your country.
How long does shipping take?
Shipping time varies by location. These are our estimates:| Location | *Estimated Shipping Time |
|---|---|
| United States | 5-20 Business days |
| Canada, Europe | 5-20 Business days |
| Australia, New Zealand | 5-20 Business days |
| Central & South America | 5-25 Business days |
| Asia | 5-20 Business days |
| Africa | 5-25 Business days |
Do you provide tracking information?
Yes, you will receive an email once your order ships that contains your tracking information. If you haven’t received tracking info within 5 days, please contact us.
My tracking says “no information available at the moment”.
For some shipping companies, it takes 2-5 business days for the tracking information to update on the system. If your order was placed more than 5 business days ago and there is still no information on your tracking number, please contact us.
Will my items be sent in one package?
For logistical reasons, items in the same purchase will sometimes be sent in separate packages, even if you've specified combined shipping.
If you have any other questions, please contact us and we will do our best to help you out.
RETURNS
Order cancellation
All orders can be cancelled until they are shipped. If your order has been paid and you need to make a change or cancel an order, you must contact us within 12 hours. Once the packaging and shipping process has started, it can no longer be cancelled.
Refunds
Your satisfaction is our #1 priority. Therefore, you can request a refund or reshipment for ordered products if:
- If you did not receive the product within the guaranteed time (45 days not including 1-3 day processing) you can request a refund or a reshipment.
- If you received the wrong item you can request a refund or a reshipment.
- If you do not want the product you’ve received you may request a refund but you must return the item at your expense and the item must be unused.
We do not issue the refund if:
- Your order did not arrive due to factors within your control (i.e. providing the wrong shipping address)
- Your order did not arrive due to exceptional circumstances outside the control of empirale.com (i.e. not cleared by customs, delayed by a natural disaster).
- Other exceptional circumstances outside the control of empirale.com.
*You can submit refund requests within 15 days after the guaranteed period for delivery (45 days) has expired. You can do it by sending a message on Contact Us page
If you are approved for a refund, then your refund will be processed, and a credit will automatically be applied to your credit card or original method of payment, within 14 days.
Exchanges
If for any reason you would like to exchange your product, perhaps for a different size in clothing, you must contact us first and we will guide you through the steps.
Please do not send your purchase back to us unless we authorise you to do so.
Order cancellation
All orders can be cancelled until they are shipped. If your order has been paid and you need to make a change or cancel an order, you must contact us within 12 hours. Once the packaging and shipping process has started, it can no longer be cancelled.
Refunds
Your satisfaction is our #1 priority. Therefore, you can request a refund or reshipment for ordered products if:
- If you did not receive the product within the guaranteed time( 45 days not including 2-5 day processing) you can request a refund or a reshipment.
- If you received the wrong item you can request a refund or a reshipment.
- If you do not want the product you’ve received you may request a refund but you must return the item at your expense and the item must be unused.
We do not issue the refund if:
- Your order did not arrive due to factors within your control (i.e. providing the wrong shipping address)
- Your order did not arrive due to exceptional circumstances outside the control of empirale.com (i.e. not cleared by customs, delayed by a natural disaster).
- Other exceptional circumstances outside the control of https://empirale.com
*You can submit refund requests within 15 days after the guaranteed period for delivery (45 days) has expired. You can do it by sending a message on Contact Us page
If you are approved for a refund, then your refund will be processed, and a credit will automatically be applied to your credit card or original method of payment, within 14 days.
Exchanges
If for any reason you would like to exchange your product, perhaps for a different size in clothing. You must contact us first and we will guide you through the steps.
Please do not send your purchase back to us unless we authorise you to do so.
Customer Reviews
There are no reviews yet
Write a Review
We Think You’ll Love
Top picks just for you