Beginner Home Coffee Roasting Checklist + Easy Roast Goals
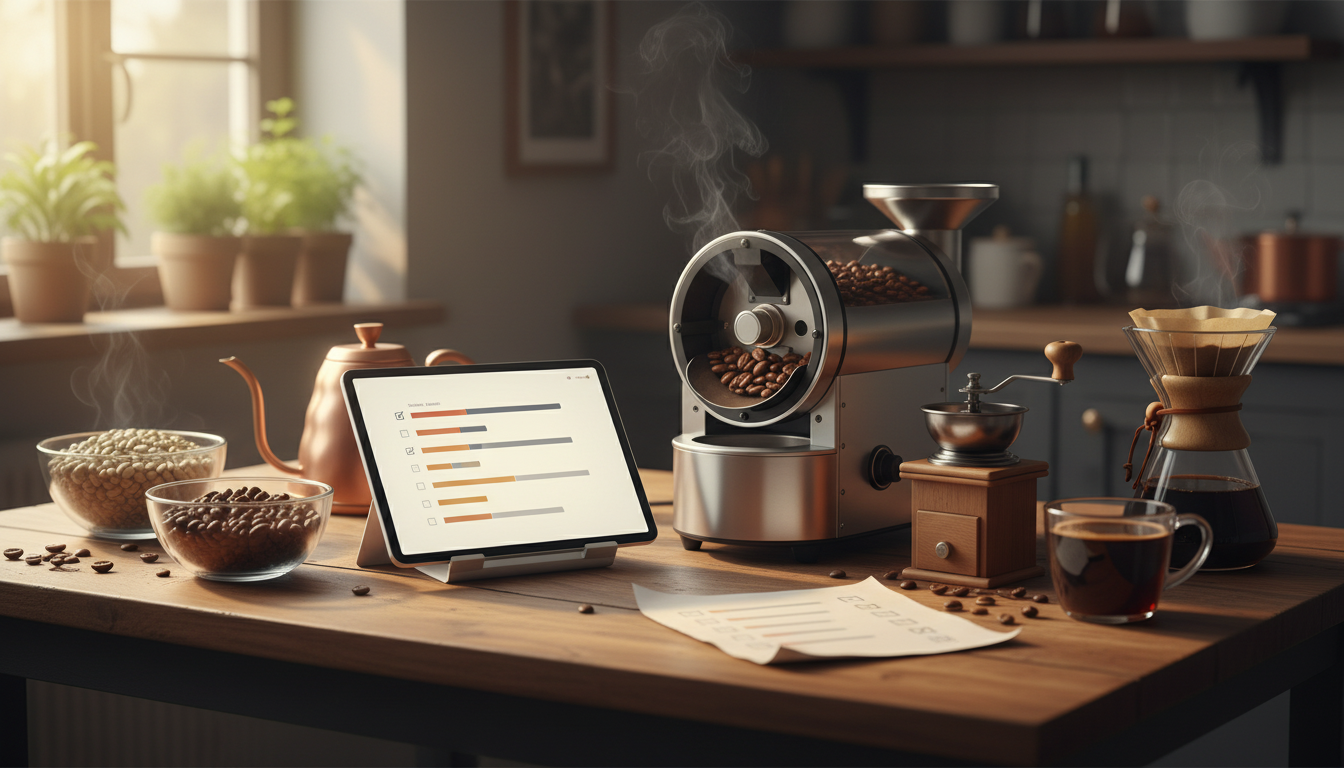
Easy Home Coffee Roasting for Beginners: A Step-by-Step Checklist and Simple Roast Ideas
Home coffee roasting doesn’t have to be complicated to be satisfying. When the process is broken into a few clear checkpoints—pick a green coffee, stick with one simple method, track the key roast moments, cool fast, then rest before brewing—results get more consistent quickly. Below is a beginner-friendly, checklist-driven approach plus a few easy roast “targets” you can repeat and refine from batch to batch.
What “good enough” home roasting looks like
Early wins in roasting come from repeatability, not perfection. Use the same batch size, the same heat approach, and the same note-taking format for at least a few roasts so you can tell what actually changed.
- Aim for repeatability over perfection: same batch size, same method, same timing milestones.
- Watch three outcomes: even color, pleasant aroma (no burnt/ashy edge), and a clean cup.
- A beginner win: consistent light-medium without scorching (dark patches), tipping (burnt tips), or baking (flat, bready taste).
- Start small: smaller batches shorten learning cycles and waste fewer beans while you dial things in.
Safety and setup before the first roast
Roasting creates smoke and chaff (the papery skin that flakes off). A little setup prevents most “rookie problems” and makes the whole session calmer.
- Roast in a well-ventilated area (open window, range hood, garage with airflow).
- Have a metal colander, heat-safe gloves, and a timer ready before you start.
- Plan for fast cooling—cooling stops the roast from “coasting” darker after heat is cut.
- Never leave roasting unattended; keep a lid or baking sheet nearby to smother a small flare-up. For general home fire safety, see guidance from the National Fire Protection Association (NFPA).
Beginner-friendly roasting methods (choose one and stick with it for 5 batches)
The fastest way to improve is to pick one method and standardize it. Changing methods every batch makes it hard to learn what “normal” looks and smells like.
Method snapshot for first-time roasters
| Method | Pros | Watch-outs | Best for |
|---|---|---|---|
| Air popper | Fast, simple, clear roast progression | Small batches, can roast too light if underpowered | Light to light-medium practice runs |
| Oven | No special gear required | Unevenness risk, slower feedback | Medium roasts with close monitoring |
| Stovetop pan/wok | Cheap, very hands-on control | Scorching risk if stirring slows | Learning smell/color and agitation |
| Home roaster | Repeatable, built-in cooling on some models | Cost, capacity limits | Consistent weekly roasting |
Whichever method you choose, keep batch size consistent (many beginners do well around 80–120g), and repeat the same approach for at least five batches before making major changes. For more background tips and classic home-roast guidance, Sweet Maria’s is a long-running resource used by many hobby roasters.
Step-by-step roasting checklist (the core workflow)
Think of roasting like hitting checkpoints instead of chasing a perfect “time.” Your heat source, room temperature, and batch size all influence the clock, but the sensory cues stay reliable.
- Pre-roast: measure green coffee; remove obvious defects if you want; keep batch size consistent.
- Preheat (if applicable): many methods benefit from preheating; start the timer when beans hit the heat (“bean drop”).
- Track sensory cues: grassy smell early, then bready/toasty aromas mid-roast, then sharper roast notes approaching first crack.
- Listen for first crack: a series of pops; treat it as a milestone, not an automatic stop.
- Choose an end point: stop shortly after first crack begins for light-medium; extend carefully for medium.
- Dump and cool immediately: agitate beans and use airflow to shed heat and chaff quickly.
- Rest before brewing: many coffees improve after 24–72 hours; keep notes so you can repeat what worked.
Simple roast ideas to try (repeatable targets)
These targets are intentionally simple—each one teaches a different skill while staying easy to repeat.
Common beginner problems and quick fixes
Cooling, resting, and storing for better flavor
- Cool fast: aim to get beans near room temp quickly using two colanders (pour back and forth) and strong airflow.
- Let coffee degas: store loosely covered for the first several hours, then seal.
- Store smart: keep roasted beans away from heat, light, and moisture in an airtight container.
- Brew timing: many coffees taste best between day 2 and day 10 after roasting, depending on roast level and bean type. For freshness and storage fundamentals, see the Specialty Coffee Association (SCA).
A printable checklist to make results consistent
Recommended downloads (in stock)
- Coffee Roasting Ideas for Beginners | Easy Home Coffee Roasting Checklist | Step-by-Step Coffee Roasting Ideas Guide (Digital Download)
- Smart Thrift: Unlocking Style Without Wasting Money – A Strategic Guide to Thrift Shopping
FAQ
What is first crack, and should roasting stop there?
First crack is an audible popping phase when beans expand and release steam as internal structure changes. Stopping near first crack typically gives a light-medium roast; extending past it develops more sweetness and body, and fast cooling helps you hit your intended level.
How long should roasted coffee rest before brewing?
A practical starting range is 24–72 hours, with lighter roasts often tasting better with a bit more rest. Try brewing the same coffee on day 1, day 3, and day 7 to find your preferred window.
What’s the easiest home roasting method for a beginner?
An air popper is often the simplest low-cost entry, while an oven or stovetop pan can work well if you closely monitor and agitate the beans. The easiest path is choosing the most accessible setup you have and repeating the same batch size for several roasts.















Leave a comment