45000RPM Cordless Nail Drill: LCD Speed + 12 Bits
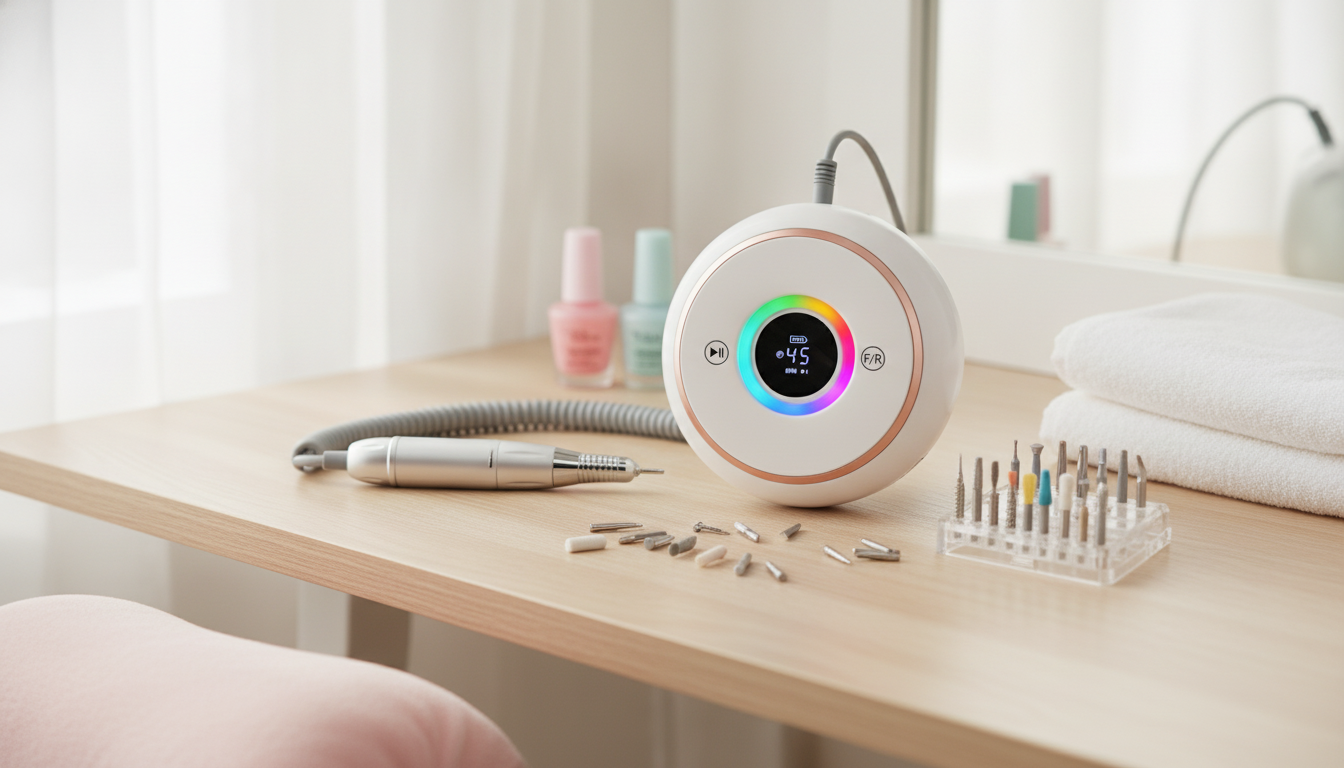
45000RPM Rechargeable Nail Drill Machine with 12 Bits & LCD Display
A high-speed, rechargeable nail drill can make shaping enhancements, refining product, and smoothing surfaces faster and more consistent—when the speed range, bit set, and ergonomics match the work being done. This overview explains what a 45000RPM cordless drill with an LCD readout and included bits is designed for, how to use it comfortably, and how to keep it performing well over time.
What This Nail Drill Is Built For
- Fast removal and refinement for gel, acrylic, and dip overlays when paired with the right bit and pressure.
- Surface prep and cuticle-area detailing at lower speeds using finer bits to reduce heat and over-filing.
- Cordless flexibility for home setups and mobile appointments, reducing cable drag and workspace clutter.
- LCD display support for repeatable settings—helpful when switching between tasks (prep, shaping, finishing).
If you’re moving from hand filing or a lower-powered e-file, the biggest difference is consistency: a stable RPM range helps remove product evenly, which can reduce the urge to press harder (a common cause of heat spikes and gouges).
Key Features That Matter Day to Day
- 45000RPM top speed: useful for controlled bulk reduction (not a requirement for every step); lower settings are typically used for natural nails and finishing passes.
- Rechargeable, portable body: supports working away from an outlet and makes storage simpler than corded stations.
- LCD display: quick confirmation of speed setting and operational status without guessing by sound.
- 12 included bits: a starter set for common tasks; results depend on matching bit type to material and using light pressure to prevent heat.
- Comfort and control: choose a grip that keeps the wrist neutral; let the bit do the work rather than pushing into the nail.
A practical way to think about a high-RPM drill: it adds headroom. You may only use a fraction of the top speed most of the time, but the motor can feel smoother under load during removal steps—especially when you’re trying to keep passes light and controlled.
Bit Guide: What to Use and When
- Coarse shaping/removal bits: best for reducing bulk on enhancements; keep the drill moving to prevent heat buildup.
- Medium grit bits: general refining after bulk removal; helps even out thickness and contour.
- Fine bits: smoothing and finishing; ideal before top coat or before switching to a hand file/buffer.
- Detail bits: for tight areas around the sidewalls and cuticle zone; use the lowest effective speed and minimal pressure.
- Cleaning/sanding-style attachments (if included): use lightly and avoid aggressive contact with natural nail plates.
Common drill tasks and practical starting points
| Task | Typical approach | Comfort/safety note |
|---|---|---|
| Remove bulk product (gel/acrylic) | Start with a coarser bit, then refine with medium | Keep constant motion; pause if warmth is felt |
| Shape and refine apex/structure | Medium grit bit for controlled contouring | Use light pressure; check symmetry often |
| Smooth surface before finishing | Fine bit or buffer attachment | Lower speed helps avoid rings and heat |
| Work near cuticle area | Small detail bit at low speed | Avoid digging; stay parallel to the nail plate |
| Shorten length | Coarse bit for product, then hand file edge | Do not force the bit into the free edge |
Using the LCD Speed Control for Cleaner Results
- Start low, then increase: begin at a conservative speed to confirm bit tracking and comfort, then raise speed only as needed.
- Match speed to the step: higher for removing product; lower for detail work and finishing passes.
- Stabilize the finger: support the client’s finger (or your own) with a firm rest to reduce skipping and accidental gouges.
- Use a sweeping motion: move in consistent, overlapping passes instead of holding the bit in one spot.
The LCD display is most useful when you treat it like a “repeatability” tool: find a speed that feels smooth for a specific step (for example, medium grit refining), then return to that number each time. That consistency can make your finish cleaner and reduce the chance of over-filing from step to step.
Care, Cleaning, and Safe Handling
For additional safety guidance around nail products and salon-like conditions at home, reference authorities such as the FDA’s nail care product information, the CDC/NIOSH nail salon health topic page, and OSHA resources on workplace exposure and ventilation principles.
Who This Setup Fits Best
Product Details at a Glance
Shop In-Stock Picks
- 45000RPM Rechargeable Nail Drill Machine with 12 Bits & LCD Display
- Smart Thrift: Unlocking Style Without Wasting Money – A Strategic Guide to Thrift Shopping
- No-Nausea Ride: The Ultimate Digital Guide to Beating Motion Sickness on the Road
FAQ
Is 45000RPM necessary for home manicures?
No—most manicure steps are done at lower speeds. The higher top RPM mainly provides extra headroom for faster product removal on enhancements and can feel smoother under load when used with light pressure and the right bit.
How can heat and “burning” sensations be avoided when using a nail drill?
Use minimal pressure, keep the bit moving in short passes, and start at a lower speed before increasing only if needed. Heat is more likely with dull bits or when the bit is held in one spot, so stop immediately if warmth is felt.
Can the included bits handle acrylic and gel removal?
Included starter bits often cover common removal and refining tasks, but results depend on the bit material and grit. If you remove acrylic frequently, specialty carbide or ceramic bits may be preferred depending on what’s in the kit and your technique.














Leave a comment