Concealer Magic: Under-Eye & Blemish Coverage Steps
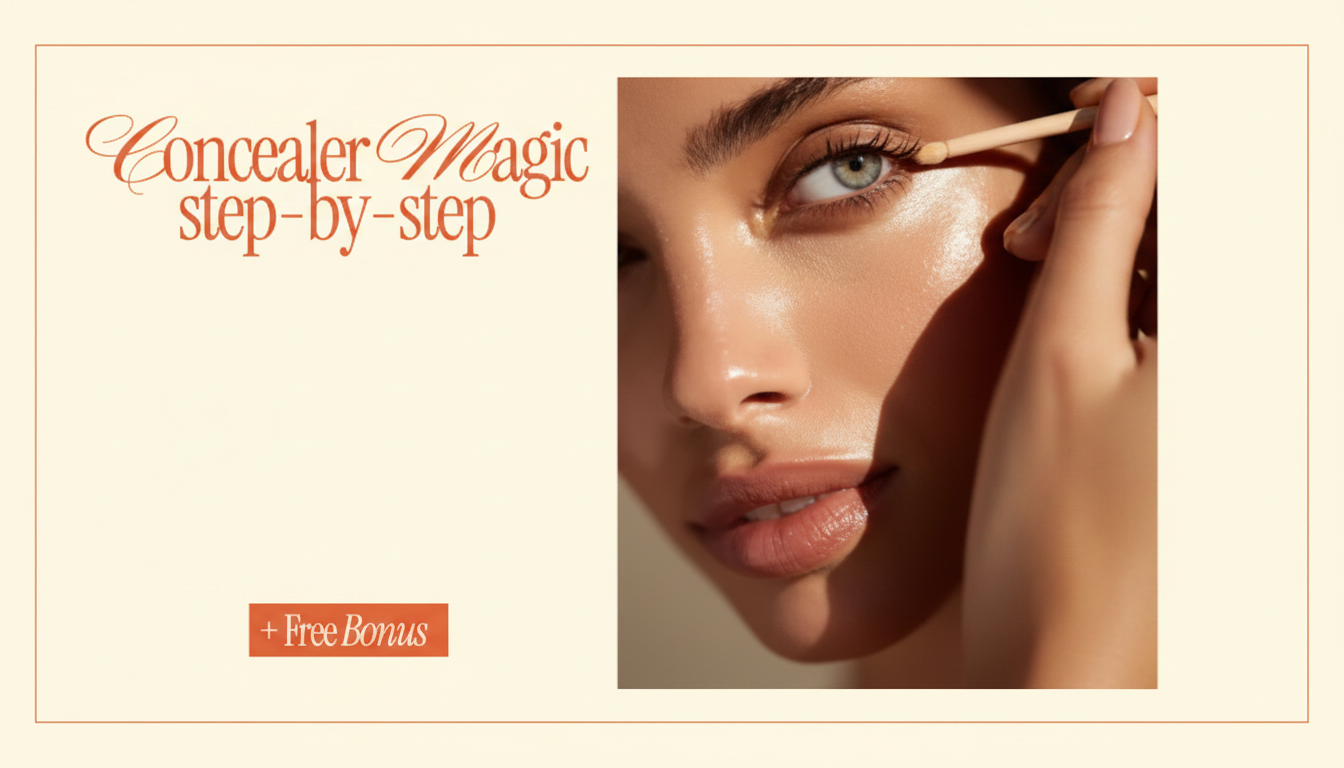
Concealer Magic: Step-by-Step Coverage for Under-Eyes and Blemishes
Concealer can brighten under-eyes, calm redness, and spot-cover blemishes—if the shade, texture, and placement match the skin concern. The goal isn’t maximum product; it’s targeted coverage that stays smooth, doesn’t crease, and still looks like skin. Use the steps below to build a routine you can repeat quickly, whether you’re doing a full face or just a five-minute fix.
Start With Skin Prep That Prevents Creasing
Concealer sits best on balanced skin—hydrated where you’re dry, controlled where you’re oily, and fully set where products tend to pill.
- Cleanse and apply a lightweight moisturizer; let it absorb before makeup so concealer doesn’t slide.
- For dry under-eyes: add a thin eye cream layer and wait 2–3 minutes. This reduces tugging and helps prevent “crackly” coverage.
- For oily or textured areas: use a pore-blurring primer sparingly only where needed (often around the nose and chin). Too much primer can make spot concealing slip.
- If you wear sunscreen, allow it to set fully. Rushing this step is a common cause of pilling when you layer concealer on top.
Pick the Right Concealer Shade and Undertone
Shade strategy changes depending on whether you’re trying to brighten (under-eyes) or erase (blemishes). Undertone is what makes coverage look natural instead of ashy or oddly gray.
- For under-eyes: choose 1 shade lighter than your skin tone for brightening. Avoid going too light—flash photography and daylight can pull a gray cast.
- For blemishes and redness: match your skin tone exactly so the spot disappears rather than turning pale.
- Undertone quick guide: peach/apricot neutralizes blue-purple darkness; green counters redness; yellow can soften purple shadows on medium-deep tones.
- Test along the jawline in natural light, and check after 5–10 minutes in case the product oxidizes darker.
Shade Matching Cheat Sheet
| Concern | Best shade choice | Corrector hint | Common pitfall |
|---|---|---|---|
| Dark circles (blue/purple) | 1 shade lighter for brightening | Peach/apricot (depth-adjusted) | Too light = gray cast |
| Redness around nose | Exact skin match | Green (tiny amount) | Layering too much = texture |
| Active blemish | Exact skin match | Optional: thin green corrector | Rubbing concealer off the spot |
| Post-acne marks (brown/gray) | Exact skin match | Peach/orange for deeper tones if needed | Using only brightening shade |
Under-Eye Concealer Placement That Lifts the Face
Under-eye concealer looks freshest when it’s placed only where it’s needed—then diffused outward so it blends seamlessly into your base.
- Apply concealer only where darkness exists (often the inner corner and the trough). If you crease easily, avoid taking it all the way to the lash line.
- Use a small amount; build in thin layers rather than starting heavy. A pinhead amount per eye is often enough for a first pass.
- Blend outward and slightly upward toward the temple to keep the area looking lifted rather than dragged down.
- If using corrector, keep it under the concealer layer and avoid spreading it too wide. Corrector beyond the shadow zone can peek through and change the undertone.
Spot Concealing Blemishes Without Caking
Spot concealing is a precision technique: cover the center, blur the edges, and let each layer settle so you don’t chase the blemish around your face.
- If the blemish is raised, focus on neutralizing redness and softening edges rather than forcing a perfectly flat finish.
- Use a tiny brush or a pointed applicator; place product on the center, then tap the edges to blur into surrounding skin.
- Let the first layer set for 20–30 seconds before adding a second micro-layer. This improves coverage without thickness.
- Avoid slick skincare directly on the blemish area right before makeup; it can cause slipping and patchiness.
If you’re managing frequent breakouts, keeping your routine gentle and consistent helps makeup sit better. For practical acne-care tips, see the American Academy of Dermatology Association guidance.
Set Strategically: Less Powder, Better Wear
Setting is about control, not coverage. The right amount of powder in the right place can prevent creasing while keeping skin-like movement.
For general cosmetic safety and labeling basics (including how products are regulated), the U.S. Food & Drug Administration cosmetics resource is a helpful reference.
A Quick “Flawless Skin” Checklist Before Leaving the Mirror
Step-by-Step Digital Guide for Faster Results
Try: Concealer Magic Step-by-Step – Digital Makeup Guide for a structured, save-and-repeat approach.
For at-home grooming that pairs well with a polished makeup look, consider: 45000RPM Rechargeable Nail Drill Machine with 12 Bits & LCD Display.
FAQ
Why does under-eye concealer crease even when setting powder is used?
Creasing usually comes from using too much concealer, setting with too much powder, dehydration under the eyes, or applying concealer too close to the lash line. Use thinner layers, let each layer set briefly, smooth lines before powder, and “micro-set” only the crease-prone area.
Should concealer go on before or after foundation?
After foundation is often more natural because you’ll need less concealer and can spot-correct only what still shows. Before foundation can help for heavier darkness or redness—just keep it thin, then lightly blend foundation over it without rubbing.
How can blemish coverage last longer without looking thick?
Apply a matching shade in thin layers, let each layer set for 20–30 seconds, and press a tiny amount of powder only on the spot to lock it in. Use tapping motions (not swiping) and feather the edges so coverage fades seamlessly into surrounding skin.















Leave a comment